
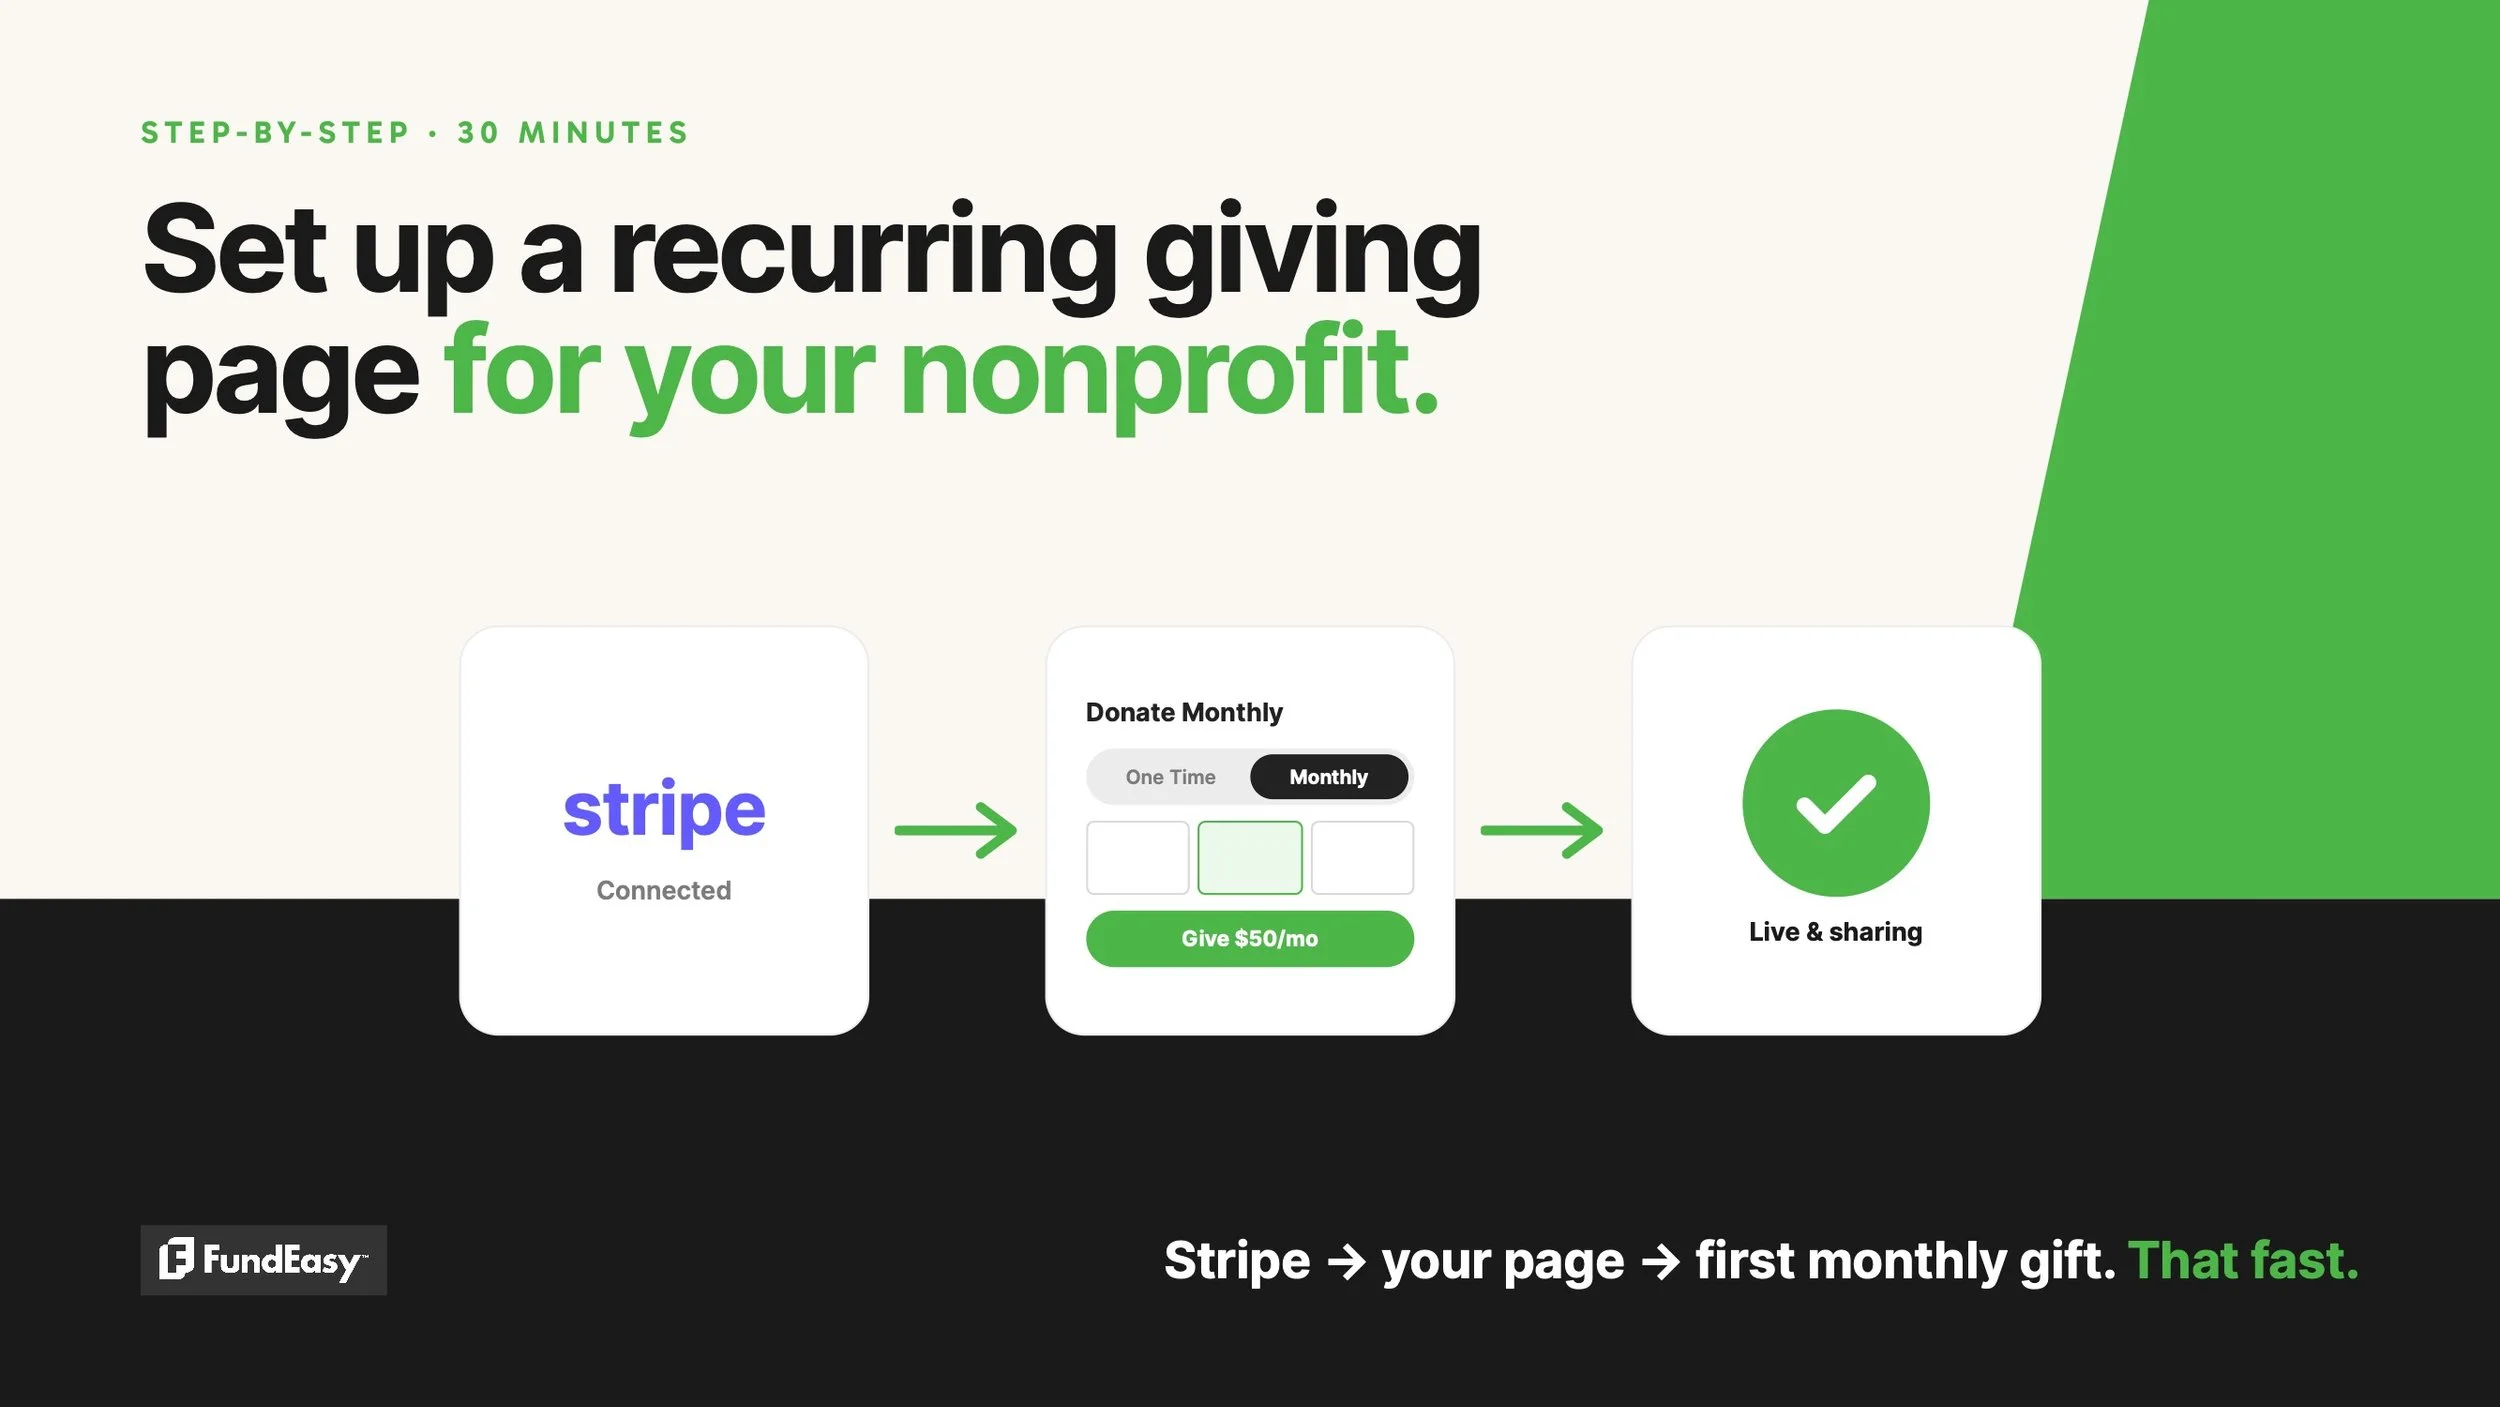
How to Set Up a Recurring Giving Page for Your Nonprofit
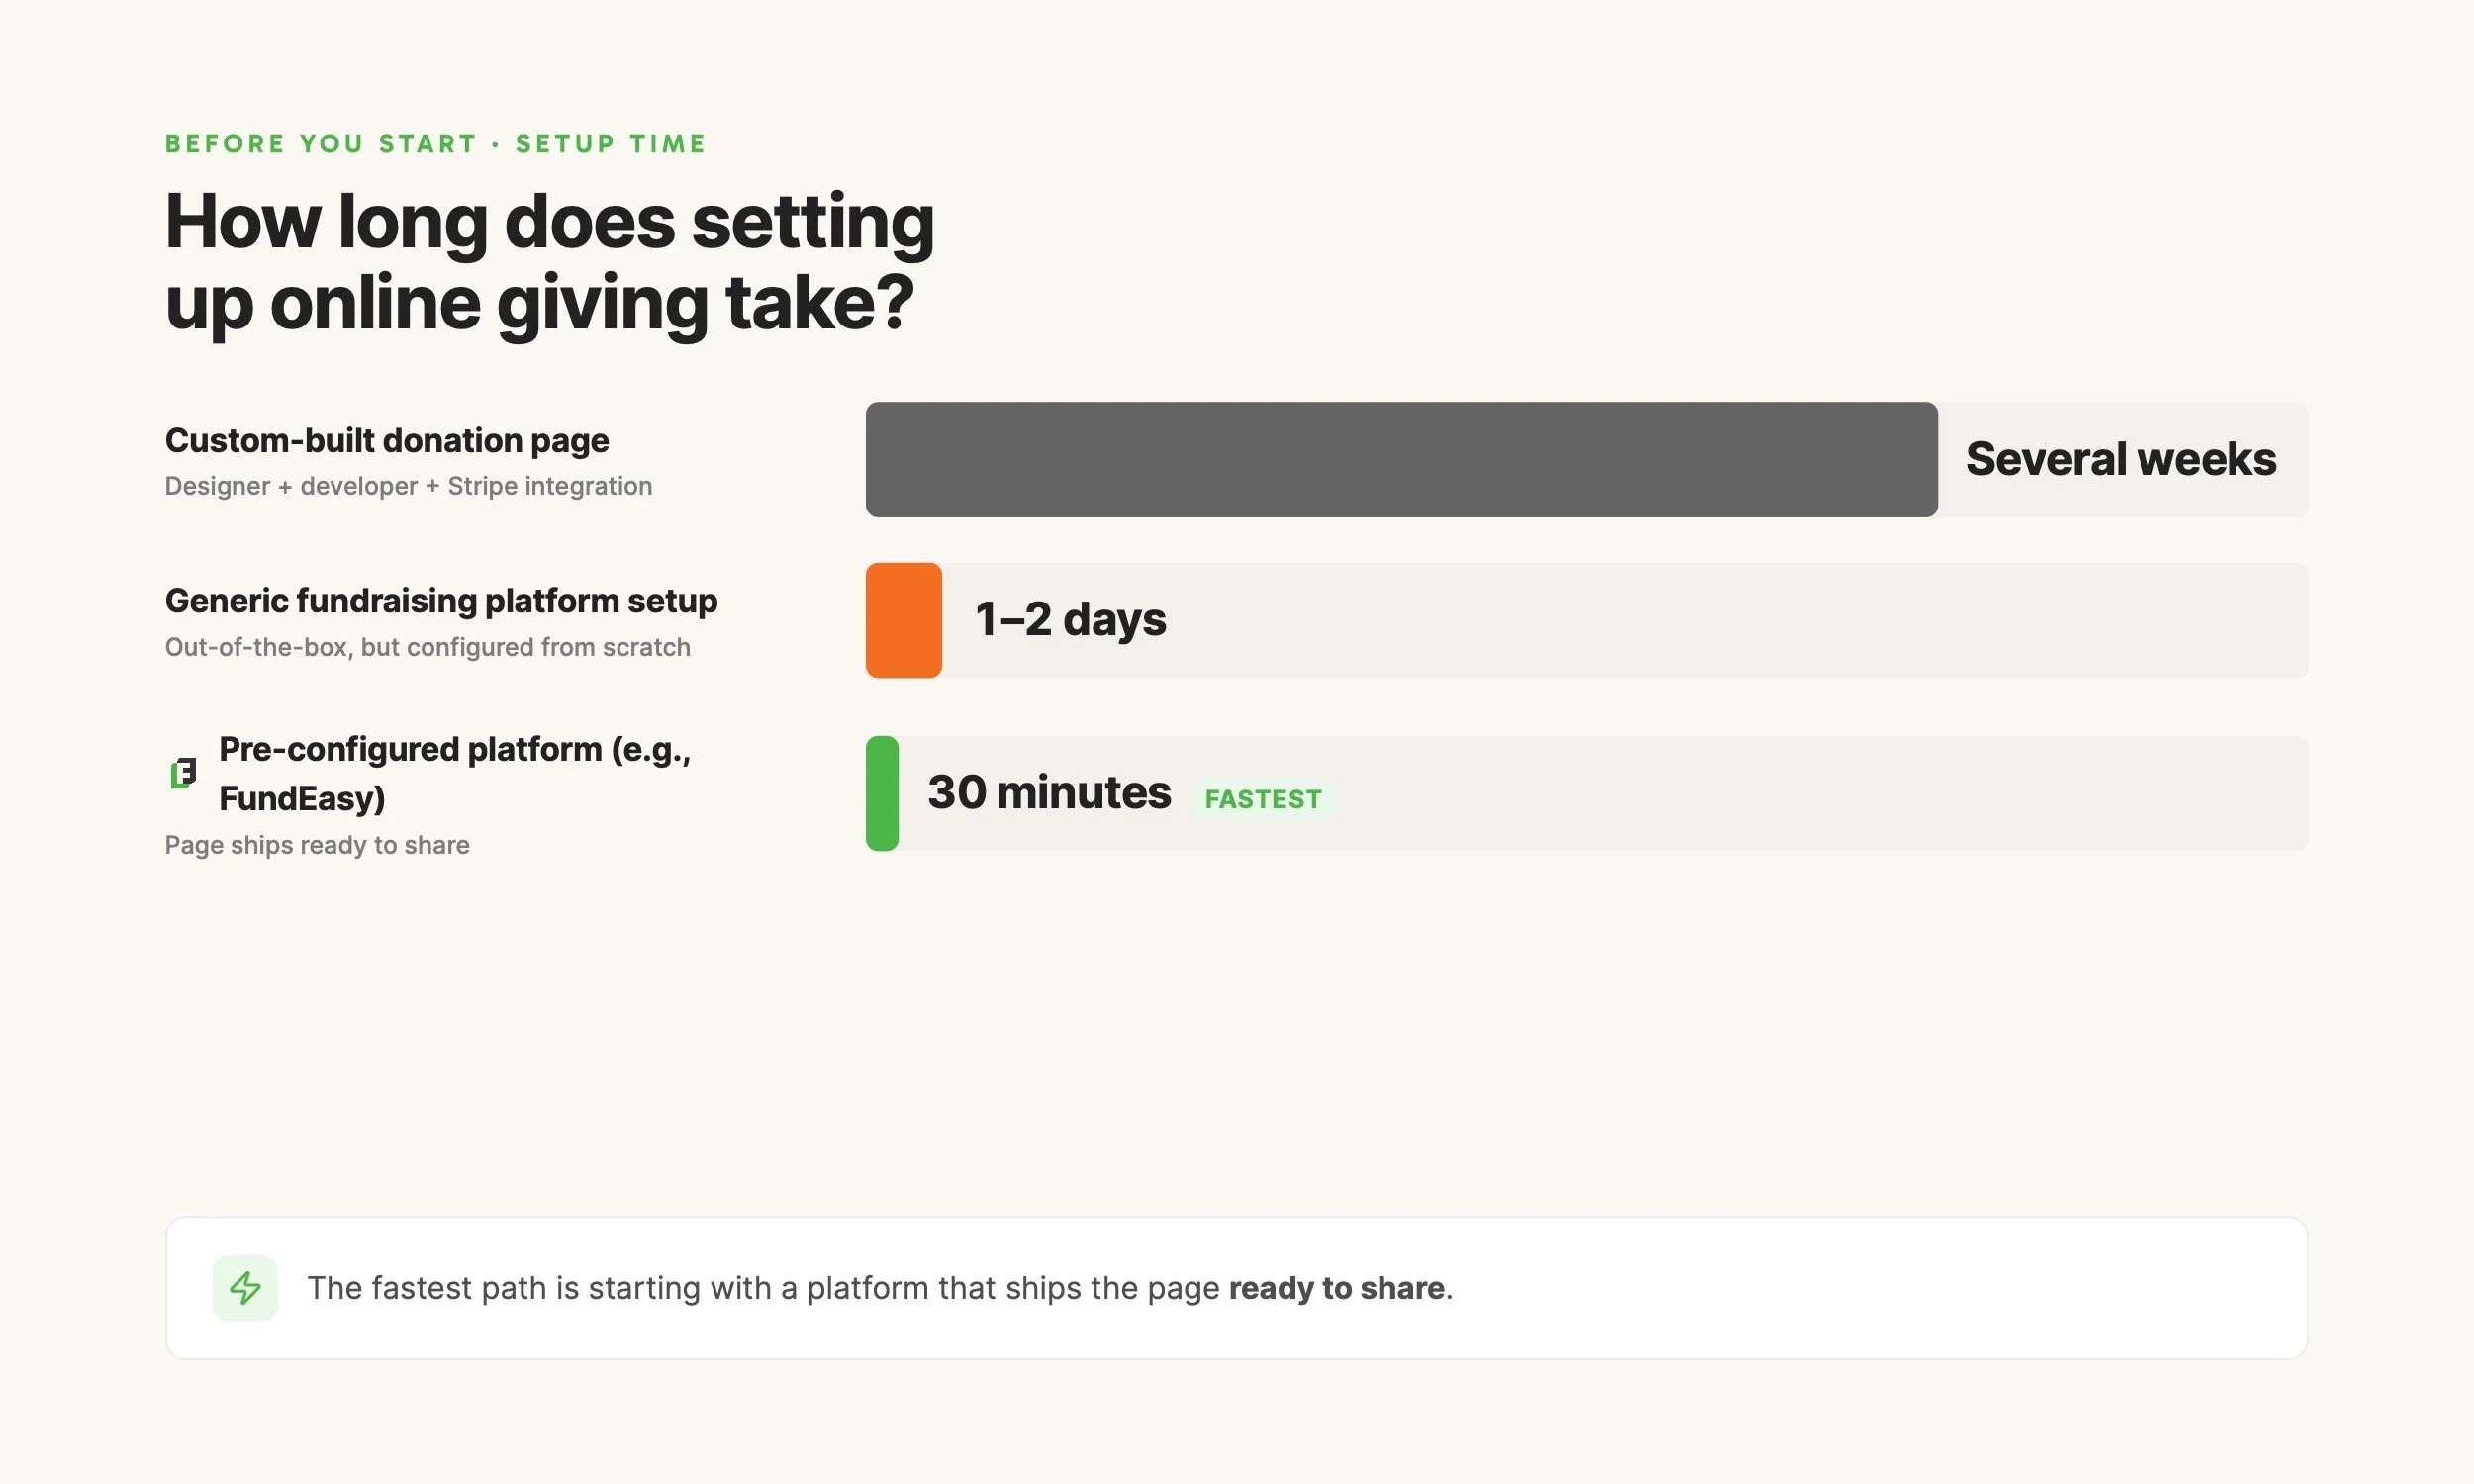
Setting up a recurring giving page for a nonprofit takes less than 30 minutes if your organization has the basic paperwork ready. The five steps are: connect a payment processor (most nonprofits use Stripe), set up a hosted donation page through a fundraising platform, customize the page with your branding and suggested amounts, make sure the monthly giving option is visible in the donor flow, and share the page link through your website and email.
This guide walks through each step in detail. The total time estimate of 30 minutes assumes you have your nonprofit's EIN, bank account information, and an authorized signer's contact details. If you're missing those, the bottleneck is paperwork, not technology.
The longer-term work (donor onboarding emails, communication strategy, monthly giving asks) takes more thought, but the page itself can be live the same day.
Before you start: what you need
Three things, all of which most nonprofits already have on hand:
Your nonprofit's EIN (Employer Identification Number). Required for Stripe's verification process.
A business bank account in the nonprofit's name, with the routing and account numbers.
An authorized signer's identity verification info (date of birth, last four of SSN for U.S. nonprofits). This is for Stripe's standard "know your customer" checks.
You'll also need to pick a fundraising platform that handles hosted recurring giving. FundEasy, Donorbox, Givebutter, Bloomerang Fundraising, and Tithe.ly all do. The setup steps below assume FundEasy, but the broad pattern is the same on any platform.
Step 1: Connect Stripe (5 minutes)
Stripe is the payment processor most modern fundraising platforms use to handle donations. Nonprofits get a discounted Stripe rate of 2.2% + $0.30 per transaction once verified.
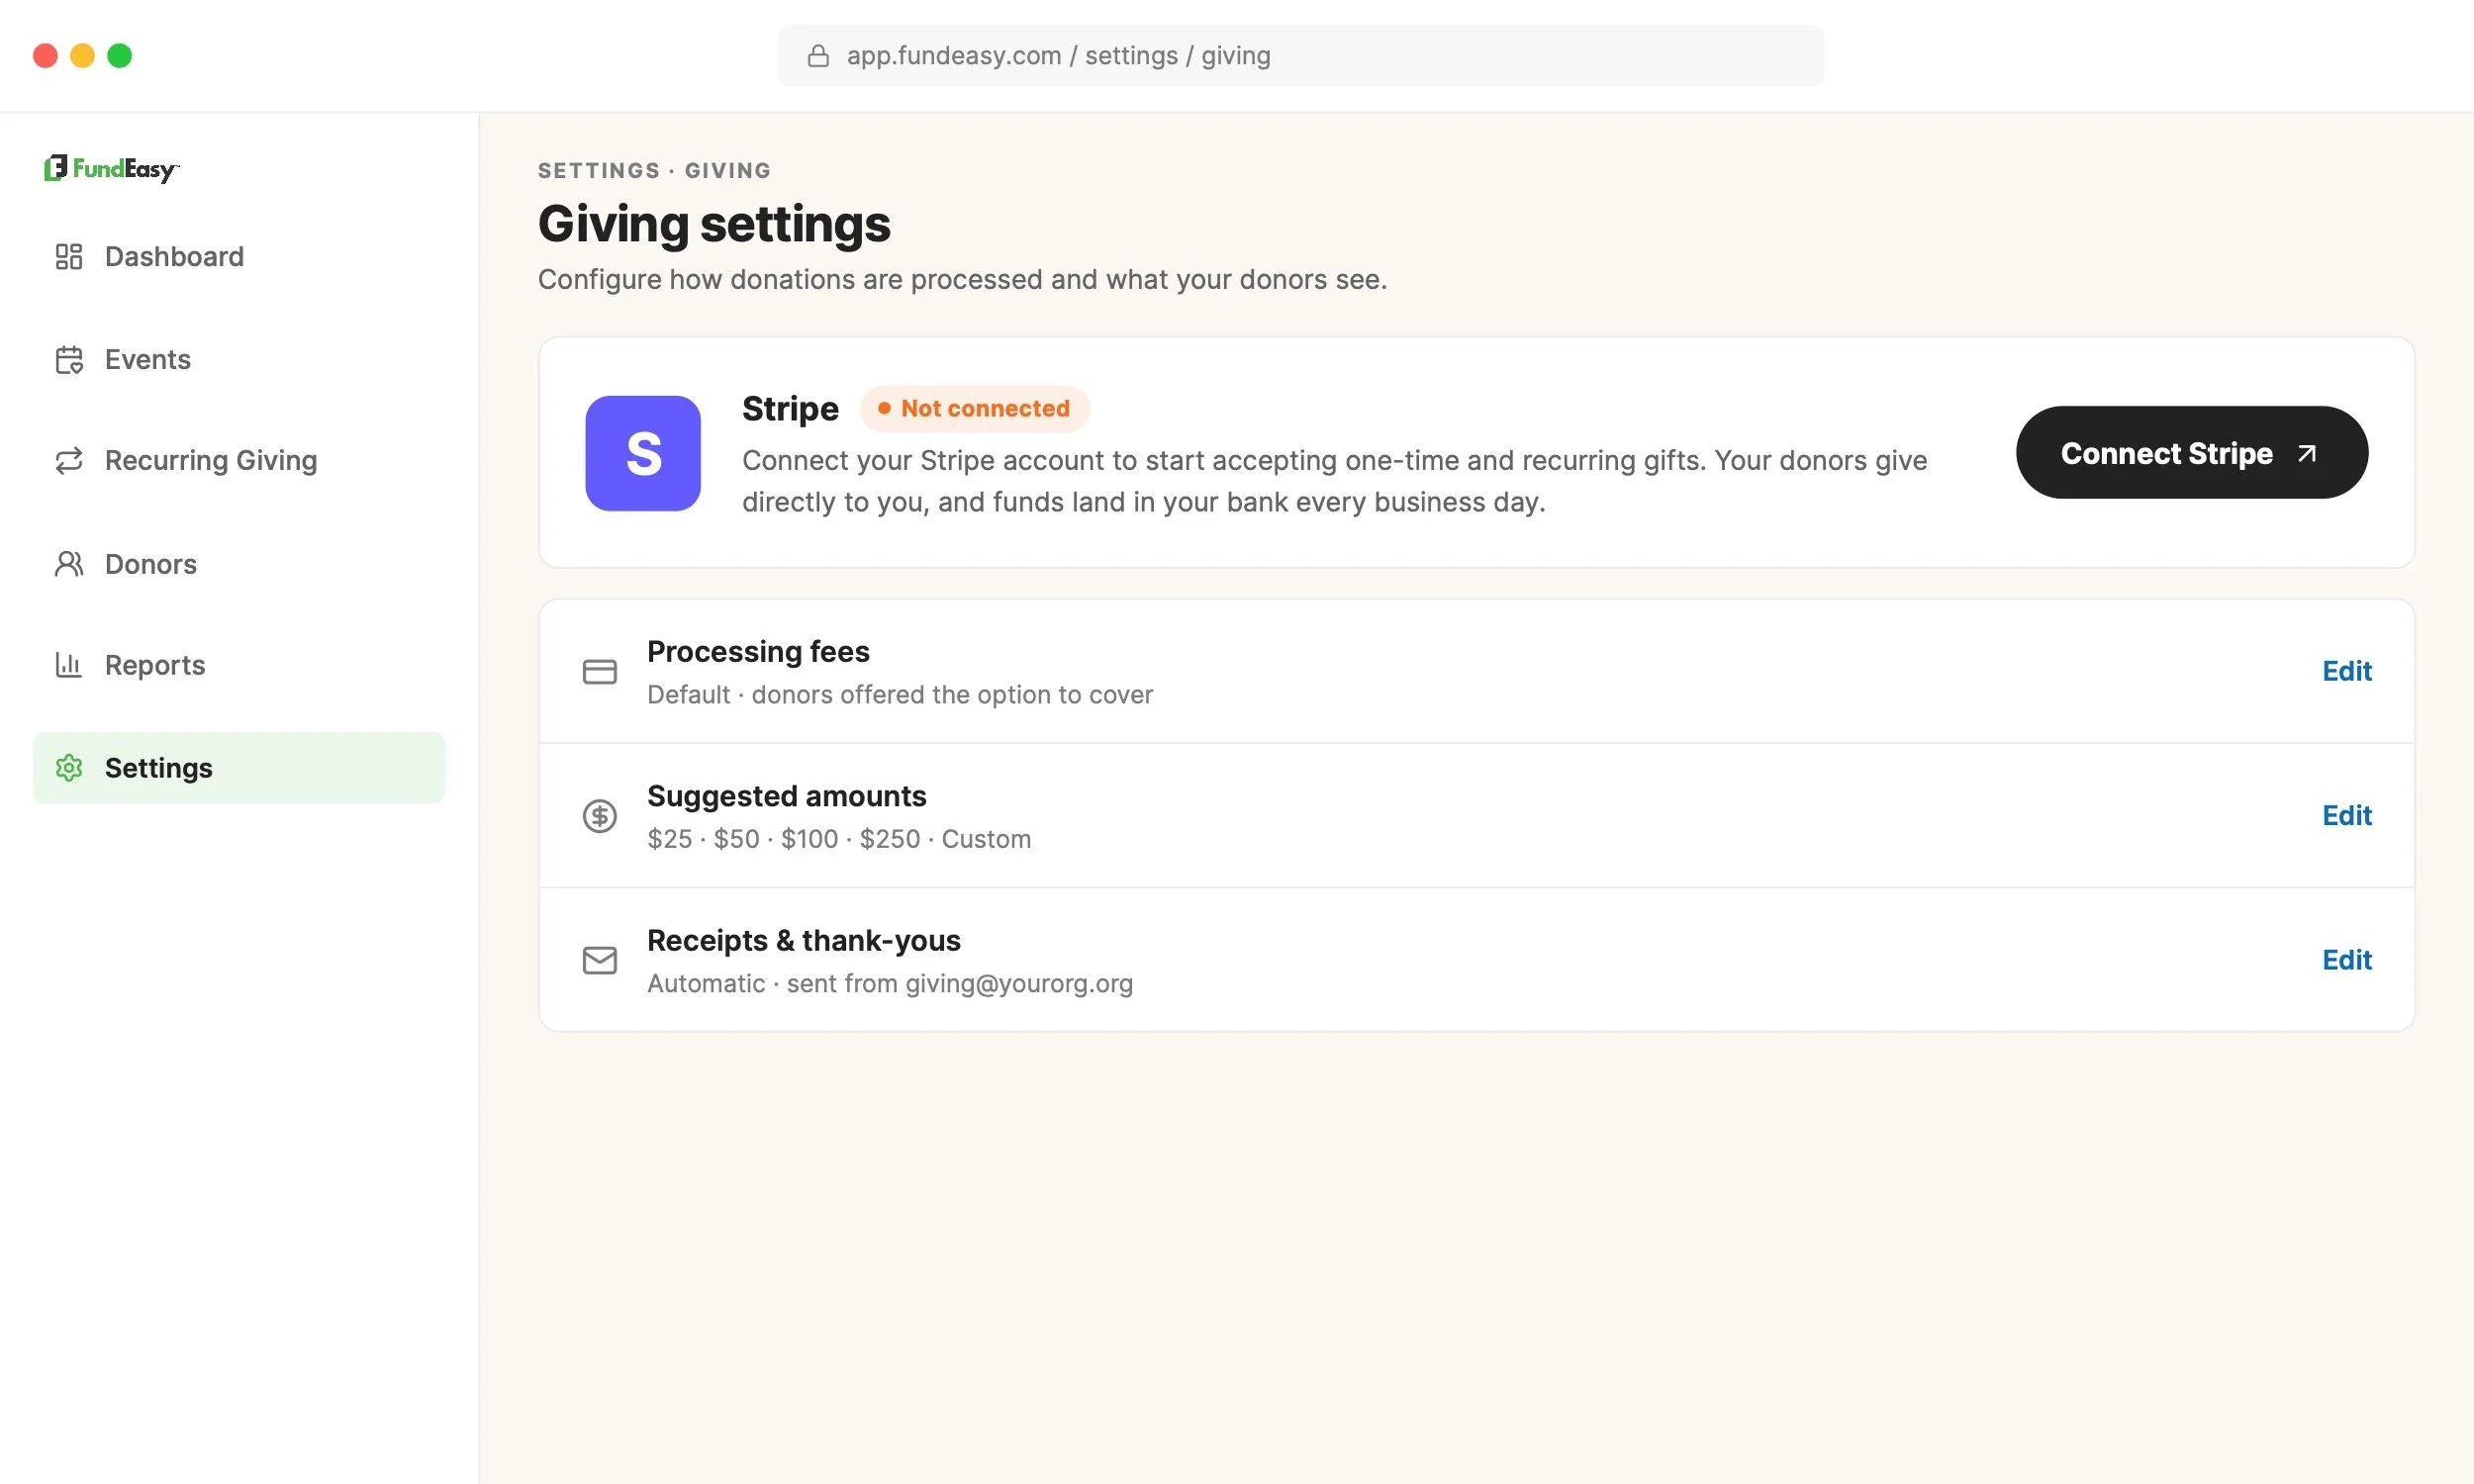
In FundEasy, the Stripe connection lives in the giving settings. Click "Connect Stripe," and Stripe walks through a series of forms covering nonprofit details, the bank account, and the authorized signer.
If you've never set up Stripe before, FundEasy's Stripe setup walkthrough covers each field in detail. Most nonprofits complete the verification in 5-10 minutes if they have the paperwork ready. Stripe usually approves the account within 1-2 business days, though many accounts are approved instantly.
You can start customizing your giving page while Stripe verifies in the background.
Step 2: Set up your hosted giving page
On most platforms with built-in recurring giving, the page already exists by default. In FundEasy, every account gets a hosted giving page the moment Stripe is connected. There's no separate "create the page" step.
The page has sensible defaults out of the box: suggested donation amounts ($25, $50, $100), a one-time and monthly toggle, an option to cover processing fees, and a standard receipt. You can publish it as-is and start collecting donations immediately.
If you want to create additional pages later (for example, a Giving Tuesday page or a campaign-specific page), most platforms let you duplicate or build new pages from scratch.
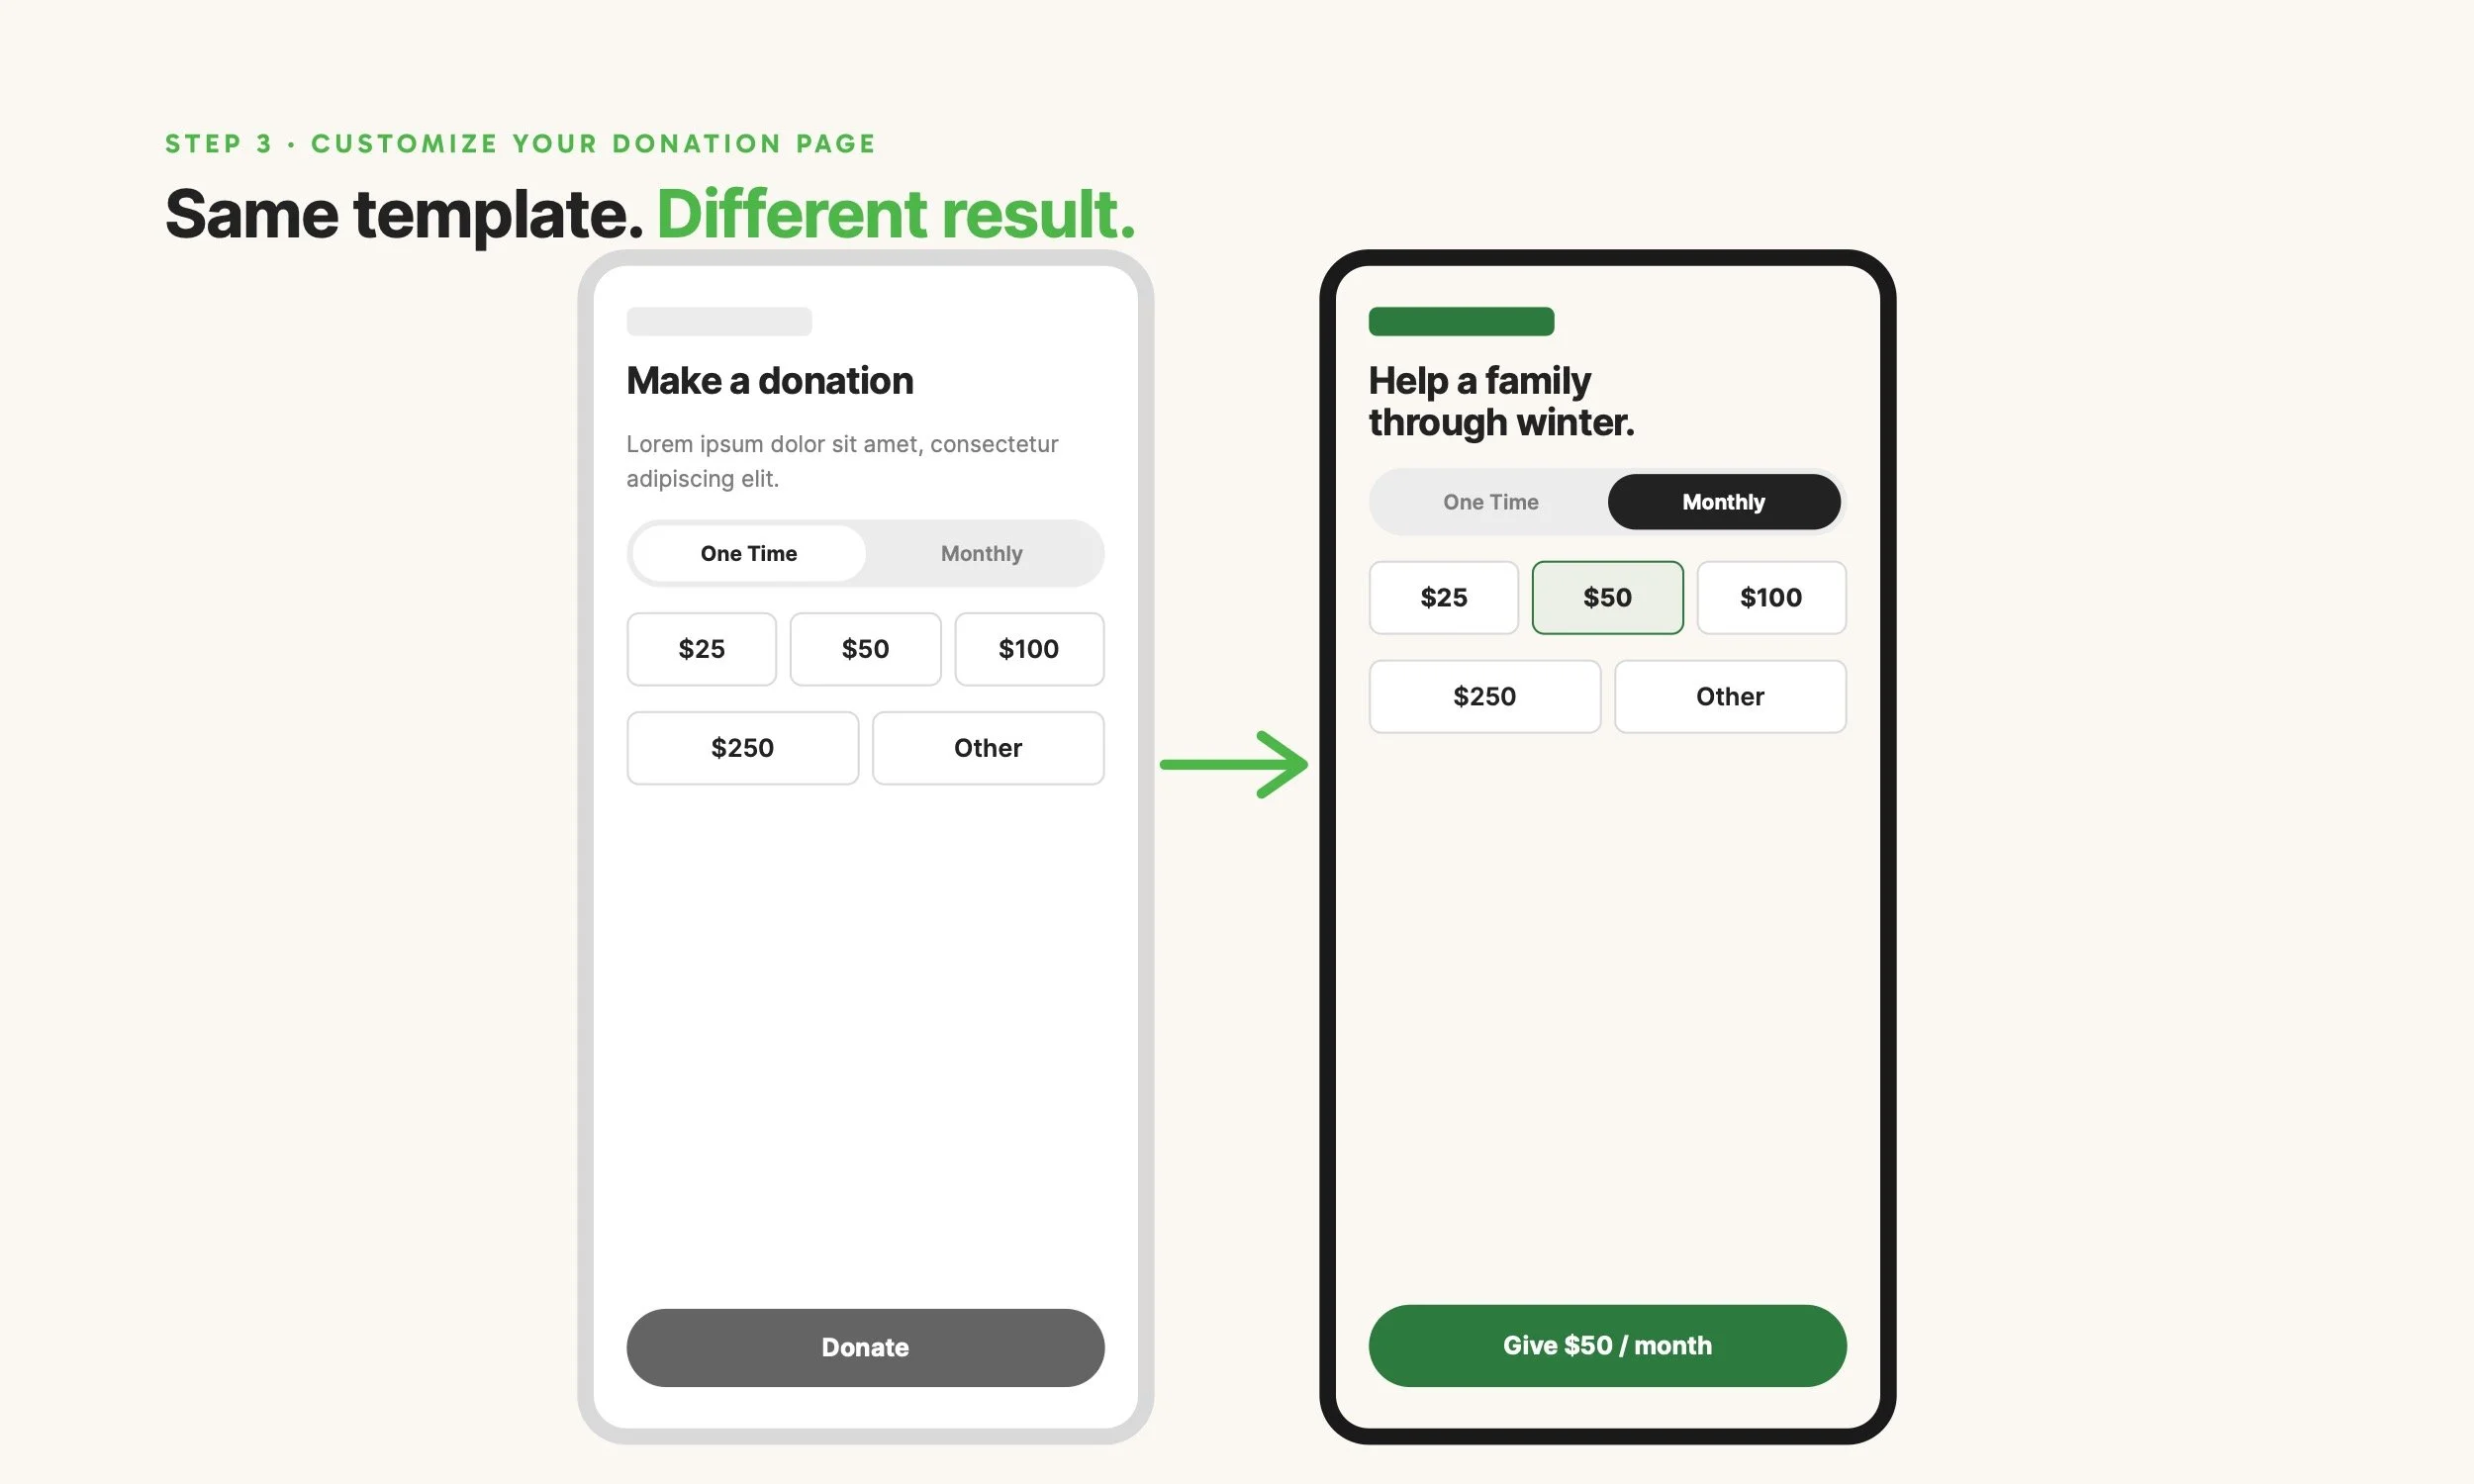
Step 3: Customize your donation page
The basic customization steps that make the page feel like yours:
Headline. Replace the default ("Support our mission") with something specific to your organization or campaign.
Mission or impact statement. A short paragraph explaining what donor support funds. Two to three sentences is plenty.
Hero or banner image. Use a real photo from your organization (people you serve, your physical location, your team in action). Avoid stock photos when possible — they erode trust.
Accent color. Match your organization's brand color so the page feels continuous with your website.
Suggested amounts. The defaults work for most organizations. Some causes do better with higher amounts ($50/$100/$250); some do better with lower starting points ($10/$25/$50). Look at your existing average gift to decide.
Donation button text. "Give," "Donate now," or "Support [your cause]" all work. Keep it short.
Spend about 10 minutes here. The page doesn't need to be perfect on day one. It needs to be live so you can start collecting donations and iterating based on what you see.
Step 4: Make sure the monthly giving option is one tap away
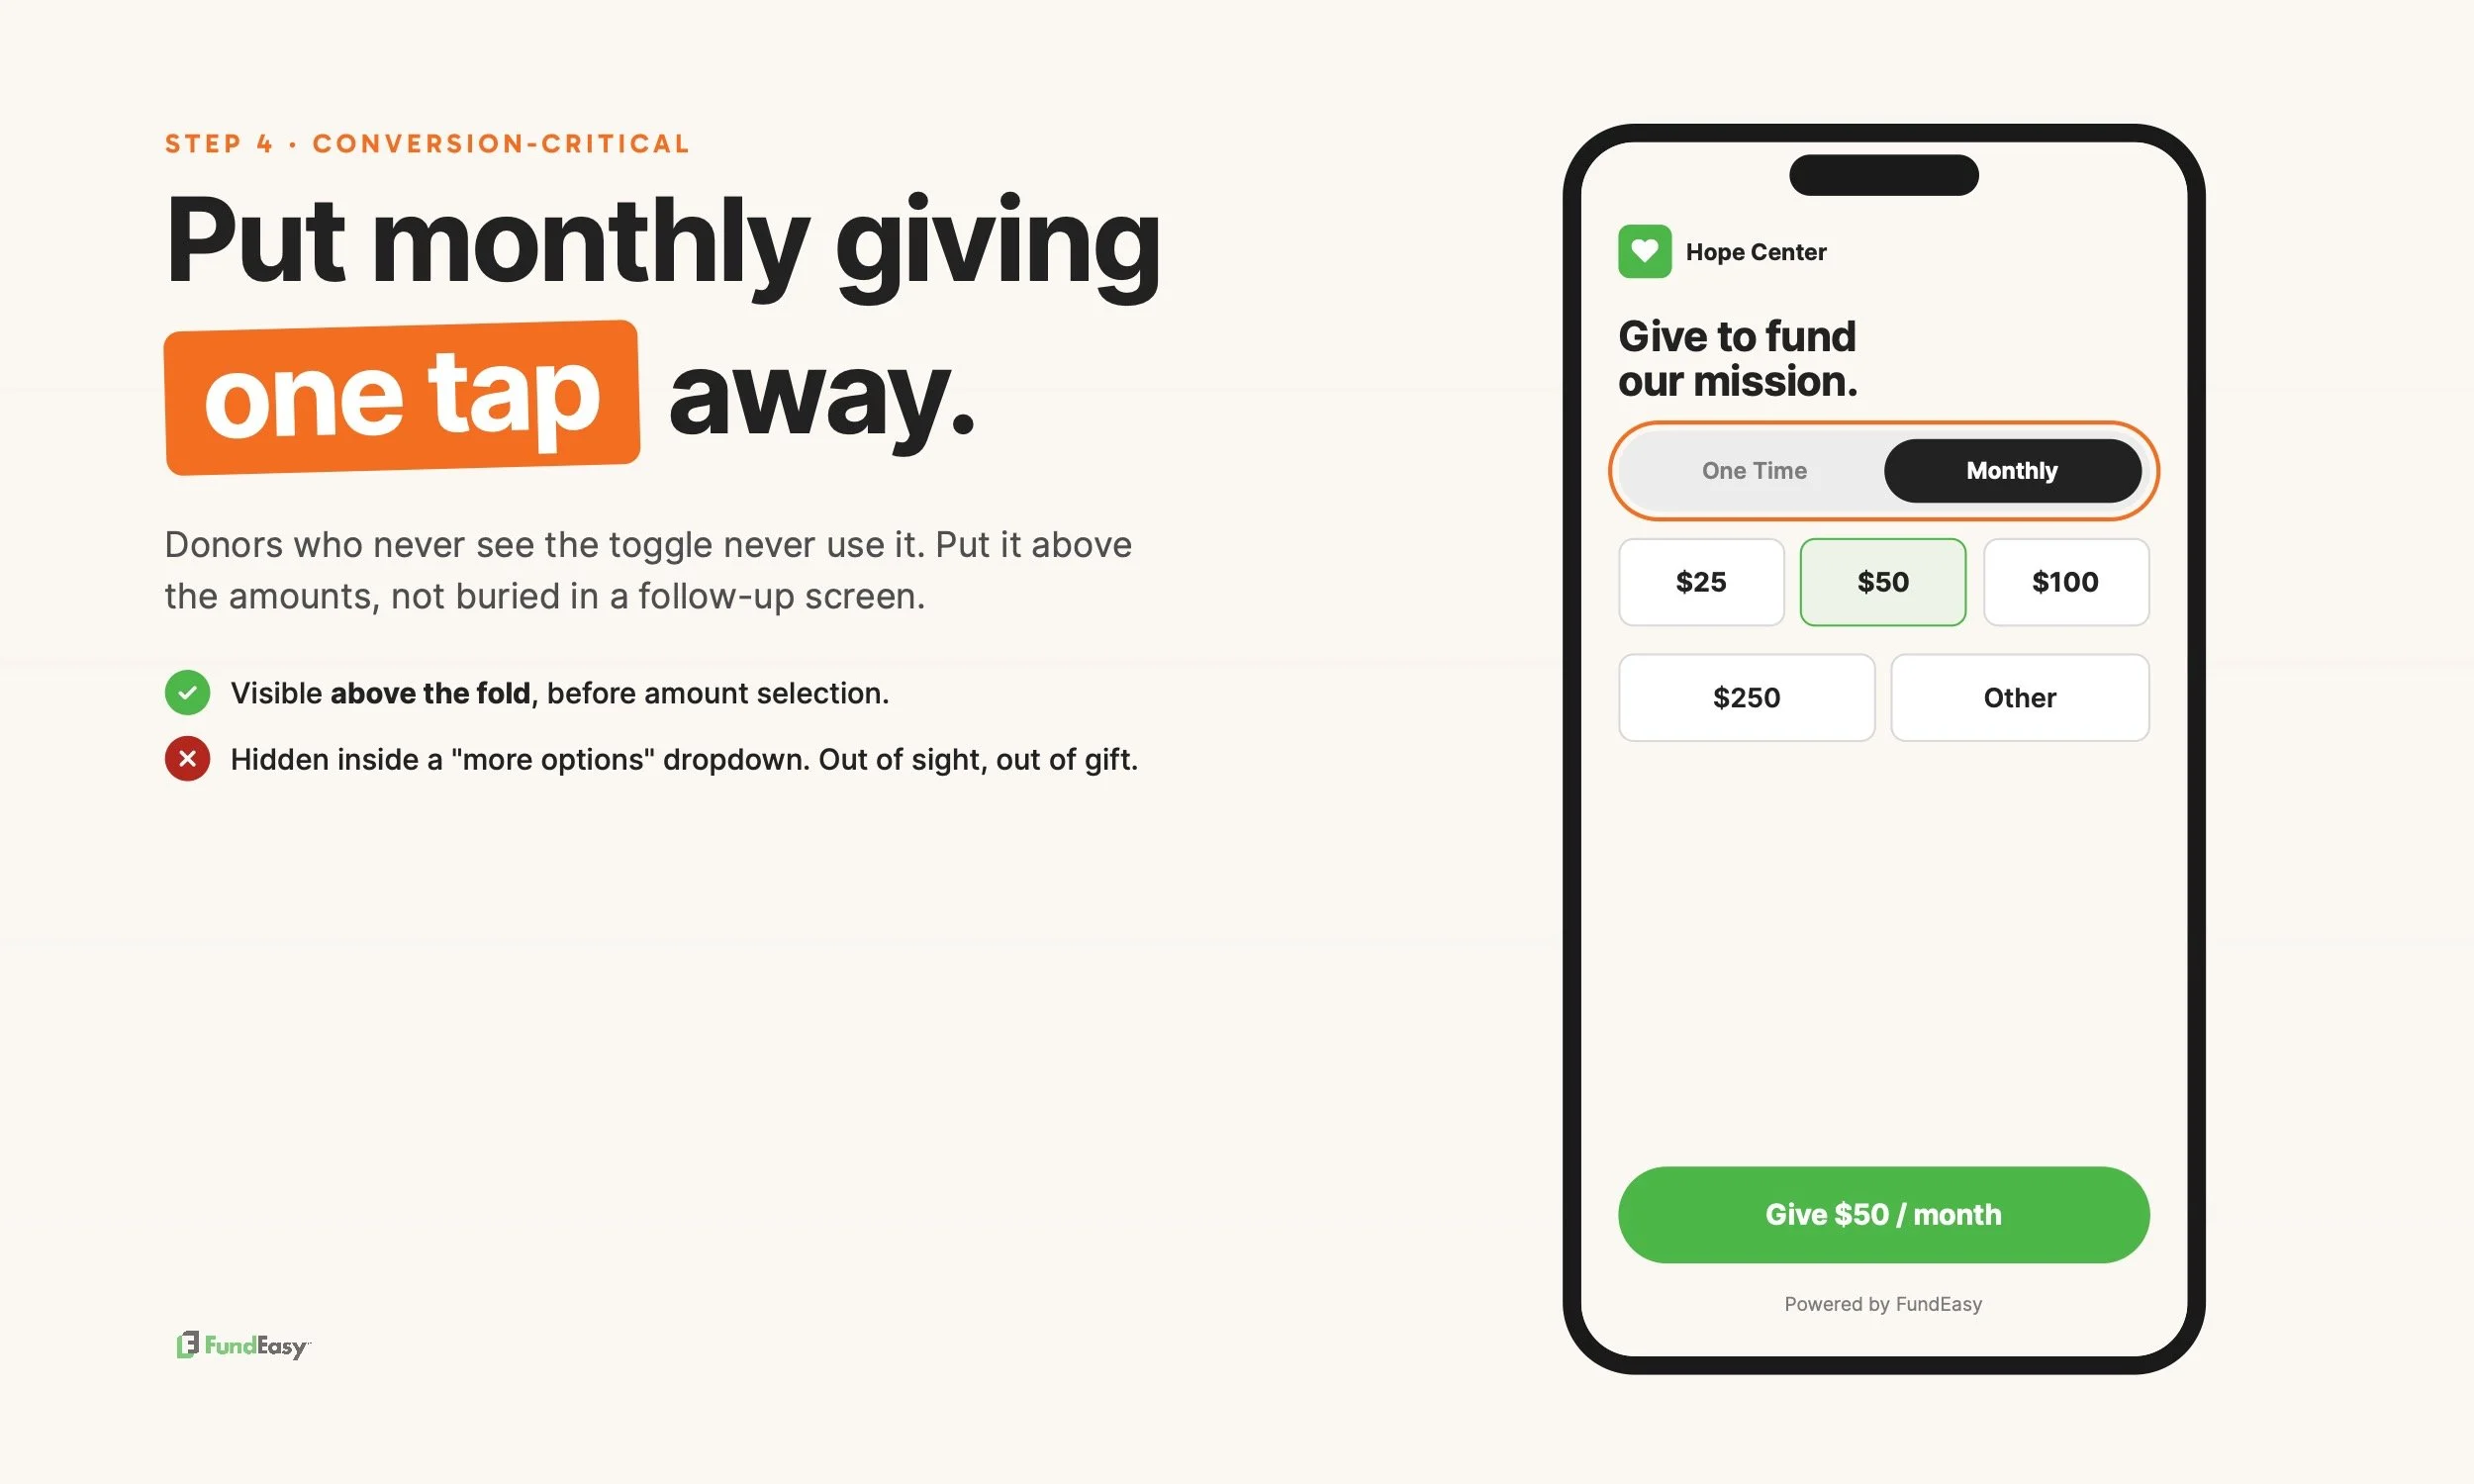
This is the conversion-critical detail most nonprofits miss.
On FundEasy and most modern platforms, the donation flow includes a "One Time / Monthly" toggle by default. Donors can switch between the two with a single tap. That's the design that produces the highest monthly opt-in rates, according to M+R Benchmarks 2026, which found that nonprofits who default to monthly (like Public Media) see 86% of donors choose the monthly option.
Two things to confirm:
The toggle is visible above the fold on both desktop and mobile. If a donor has to scroll to find it, opt-in drops sharply.
The monthly option doesn't require a separate form or extra steps. A single-flow design (same page, just toggle) outperforms a "click here for monthly options" link every time.
If your platform doesn't show the monthly toggle this way by default, this is where most platform comparisons matter. The donor flow design directly affects how many donors you'll convert to monthly.
Step 5: Share your page and start asking
The page is live. Now it needs traffic and asks. Three things to do this week:
Add the donation page URL to your main website navigation. Most nonprofits link "Donate" in the top right of every page. If you have a "Ways to Give" page, add the link there too.
Send a launch email to your full list announcing recurring giving. One CTA: "Set up monthly support today."
Share on social media and in your email signature. A simple link in your nonprofit's signature ("Set up monthly support") generates more donations over time than most one-off campaigns.
The single biggest mistake nonprofits make at this step is treating the launch as a one-time announcement and then forgetting about it. The bigger lever is making sure every donation entry point — website, email signature, social, donor receipts — has the monthly toggle visible in the flow.
Frequently asked questions
How long does it take to set up a recurring giving page?
The technical setup takes 20-30 minutes if you have your EIN, bank account info, and authorized signer details ready. Stripe verification can take an additional 1-2 business days, though many accounts approve instantly. The bottleneck is usually paperwork, not technology.
Do I need a payment processor to accept recurring donations?
Yes. Recurring donations require a payment processor that supports automatic billing (charging the same amount on the same day each month). Stripe is the most common processor for U.S. nonprofits, with discounted nonprofit rates of 2.2% + $0.30 per transaction.
Can I add recurring giving to my existing donation page?
It depends on the platform. Some platforms (like FundEasy) ship with recurring giving built into every donation page by default. Others require you to switch on the recurring option or upgrade to a higher tier. If your current page doesn't have a visible monthly toggle, the fastest fix is switching to a platform that does.
How much should I charge for processing fees?
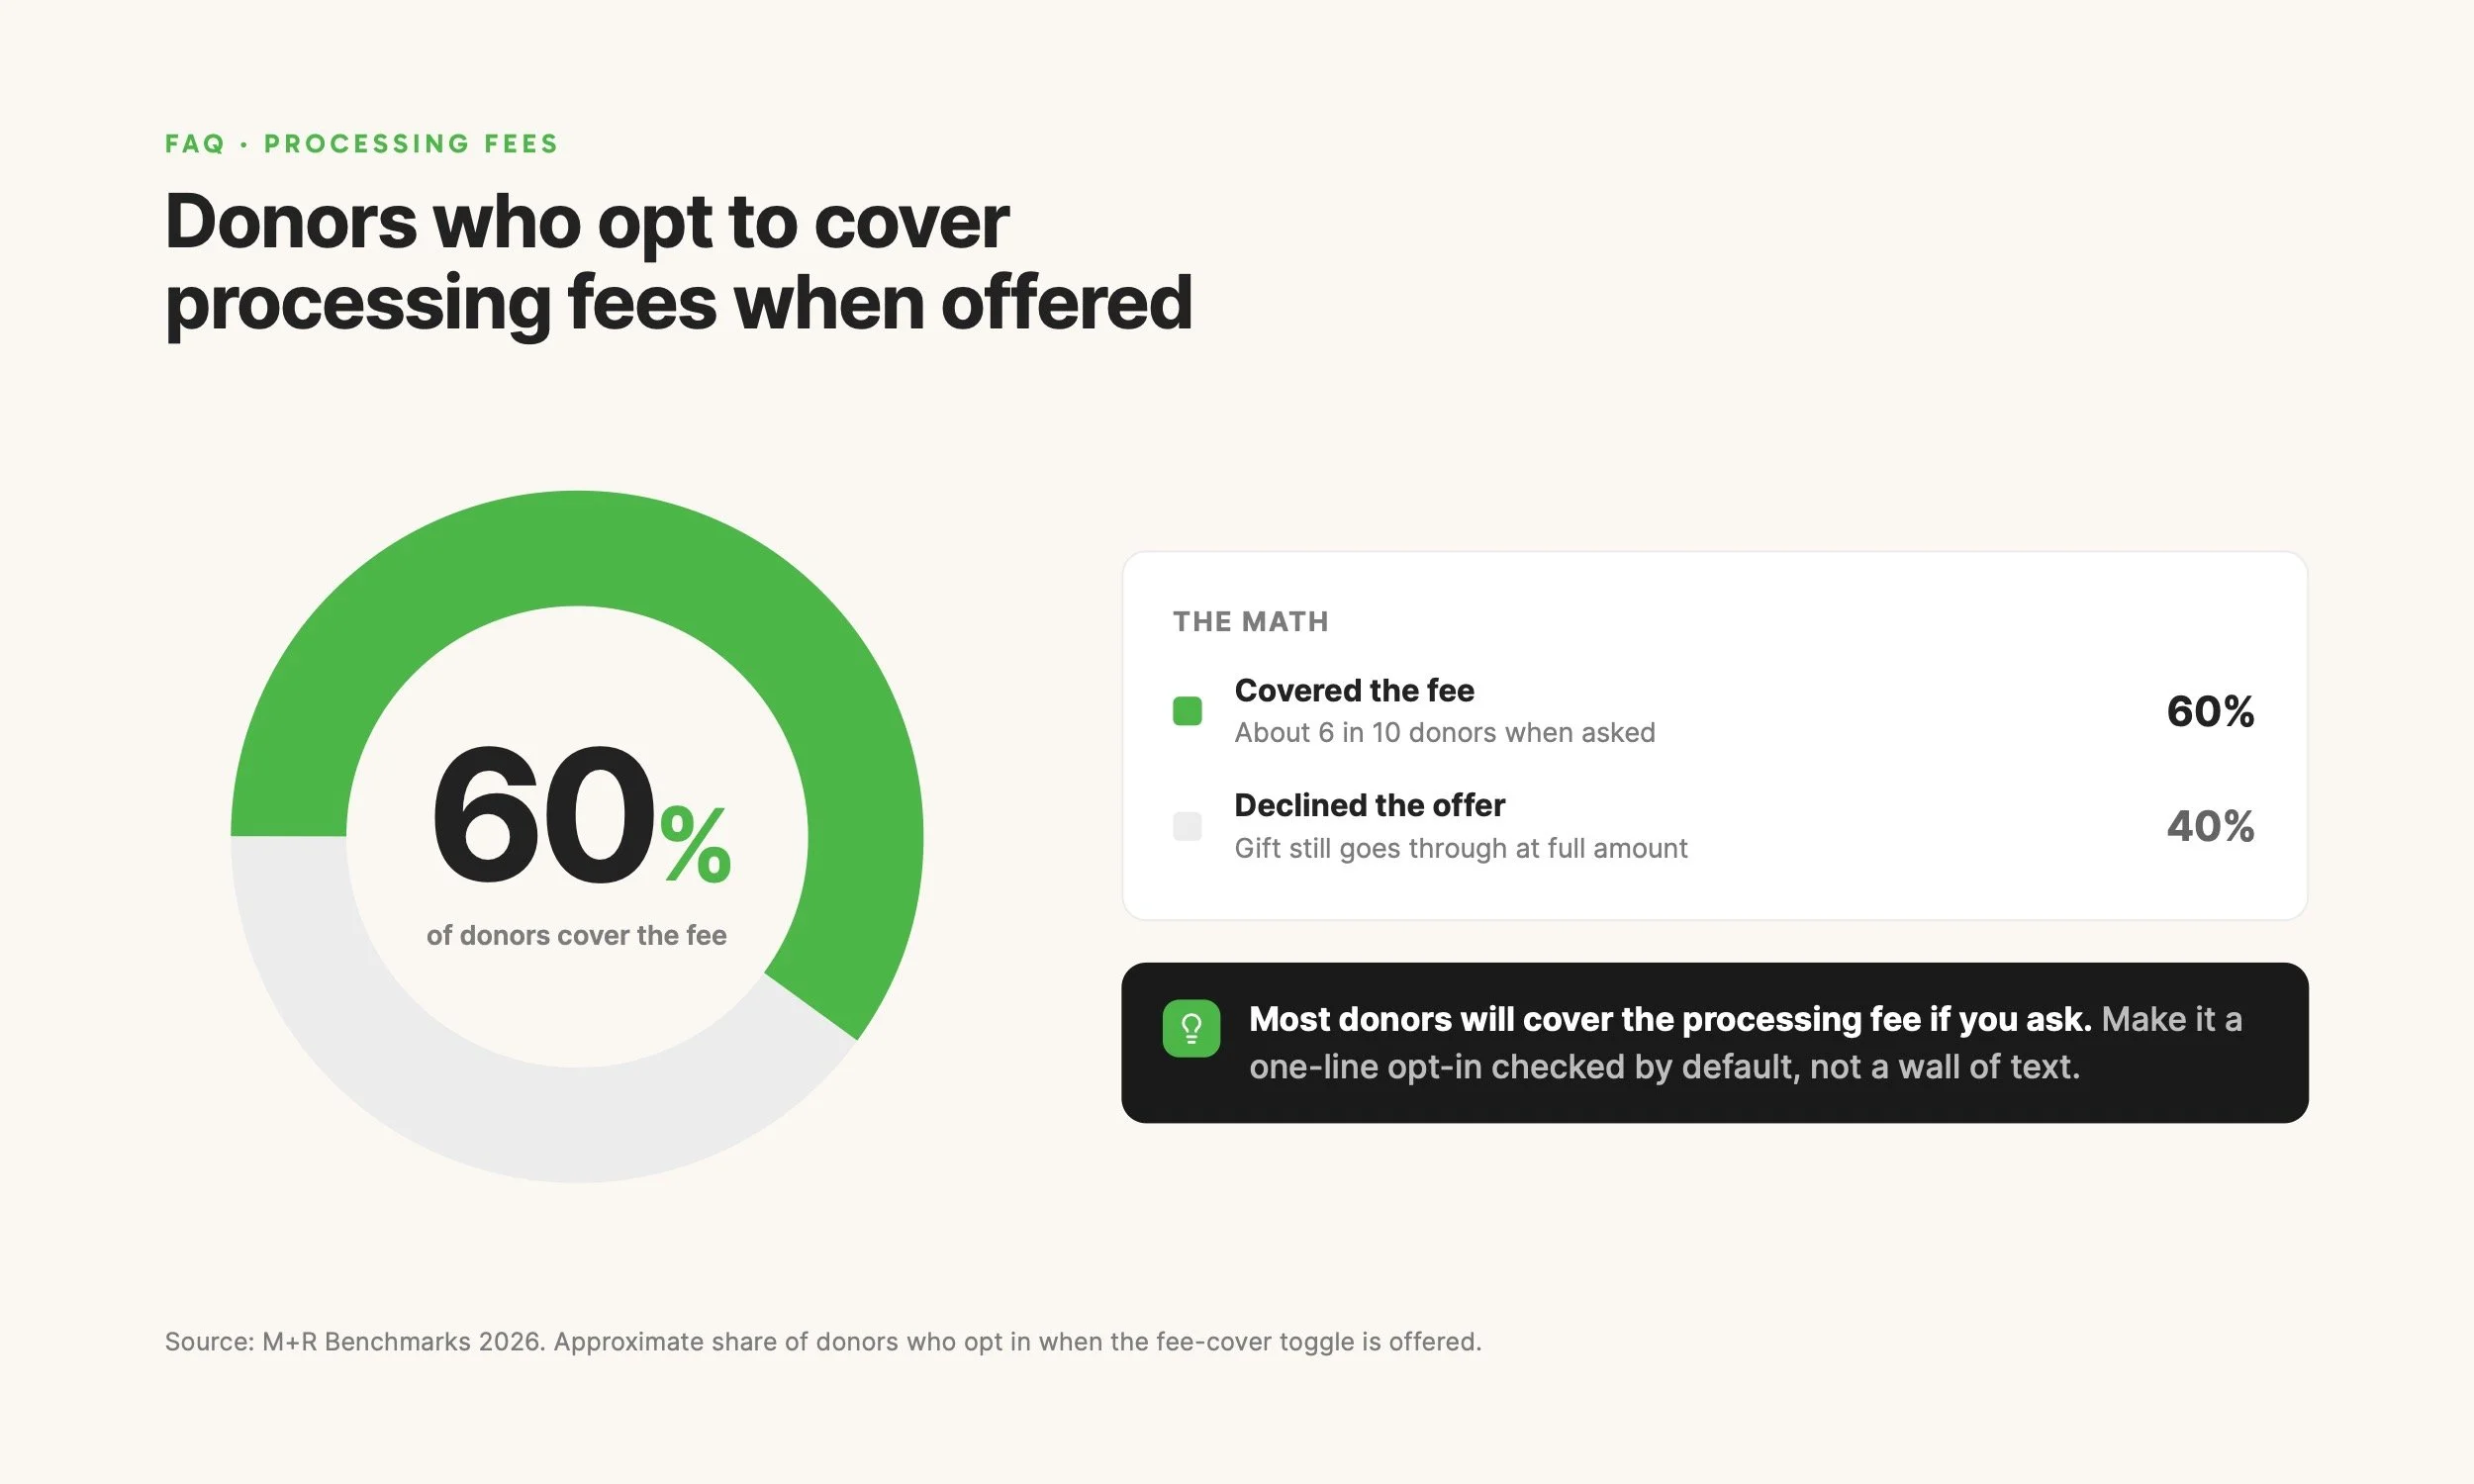
You don't charge donors directly for processing fees. The payment processor (Stripe) deducts its fee from each donation automatically. Most platforms now offer an optional "cover processing fees" checkbox in the donor flow, which lets donors add a small amount (typically around 4.5%) to cover the fee themselves. M+R Benchmarks reports that around 60% of donors opt in when this is offered.
What happens when a donor's card expires?
The payment processor (Stripe) automatically retries failed payments on a schedule and sends the donor an email asking them to update their card. Most modern fundraising platforms route these communications automatically. If you don't have donor self-service for managing recurring gifts on your platform, donors who can't update their own card will contact the nonprofit, and your team handles the update through Stripe directly.
A platform that takes the setup work seriously
The fastest path from "we should accept recurring giving" to "we are accepting recurring giving" is starting with a platform that ships the page ready to go. FundEasy is built this way: connect Stripe, and the giving page is live with the monthly toggle in the donor flow by default.
FundEasy also handles event registration, ticketing, sponsorships, and crowdfunding in the same account. For nonprofits that run events alongside online giving, that means one platform, one transaction view, one login instead of stitching together separate tools.
If your organization is setting up recurring giving for the first time or migrating from a different platform, the demo walks through the full setup process and answers questions specific to your situation.
